
Optimizing SEO in Next.js - A Deep Dive into Implementation with next-seo for Your Website
Next.js community has become a place where it grows to become one of the popular React frameworks to work with.
 Web Story
Introduction
SEO (Search Engine Optimization) is one of the most important things in many websites to have. It will provide the most relevant information to the search engine to crawl for indexing and rank your website in their system. Sometimes specific web pages need specific SEO types and values, from the title, description, open graph, Sitemap, and JSON schemas.
Next.js comes with SSR (Server Side Rendering) advantage that can render HTML content visibility for search engines to crawl. But as for now with the recent algorithm updates, it's not possible that Google search can crawl any websites and SPA's built on JavaScript language on the Client-Side Rendering.
Many of Next.js plugins or modules came from the community and the continuation of the community supports from the developers such as on the SEO side and others. One of them is Next-Seo, a plugin for handling Next.js easier on the SEO parts from Gary Meehan. Sitemap also important in SEO, this next-sitemap from Vishnu Sankar also a great choice to have Sitemap in Next.js.
Another route, you could just build your own function and component for this SEO requirement in your project, but in my opinion, it takes more time to do the research and development when you have the complete community support already there for use.
Project Setup
For this project setup, the Next.js version was v10.0.6 and the Node.js version was on v12.13.0. See this post about changing the Node.js version on your machine and set up an .nvmrc file.
Installation
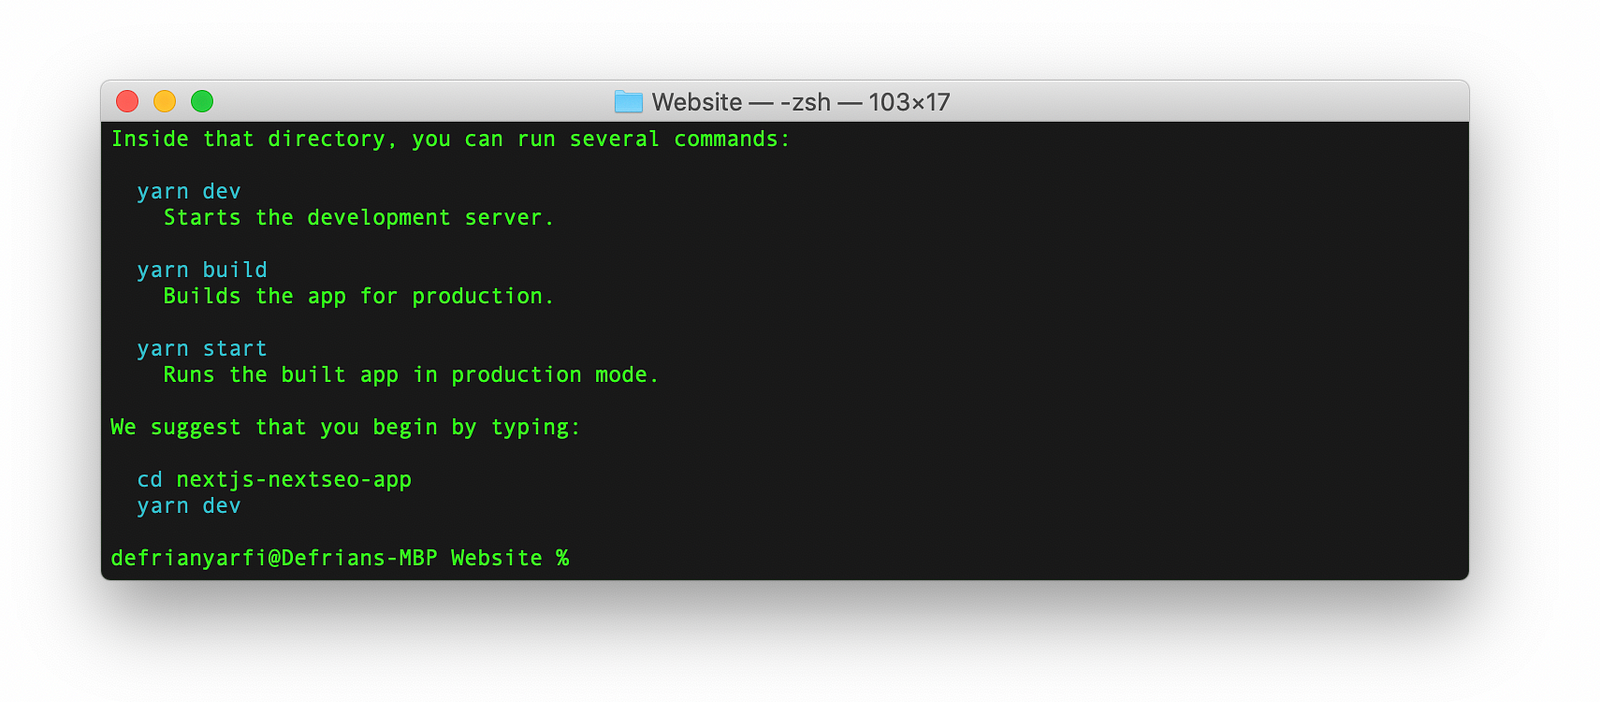
Type in your project directory npx create-next-app nextjs-nextseo-web in your terminal to get the Next.js project installed. On this occasion, my Next.js project directory called nextjs-nextseo-web you can be named yourself differently.
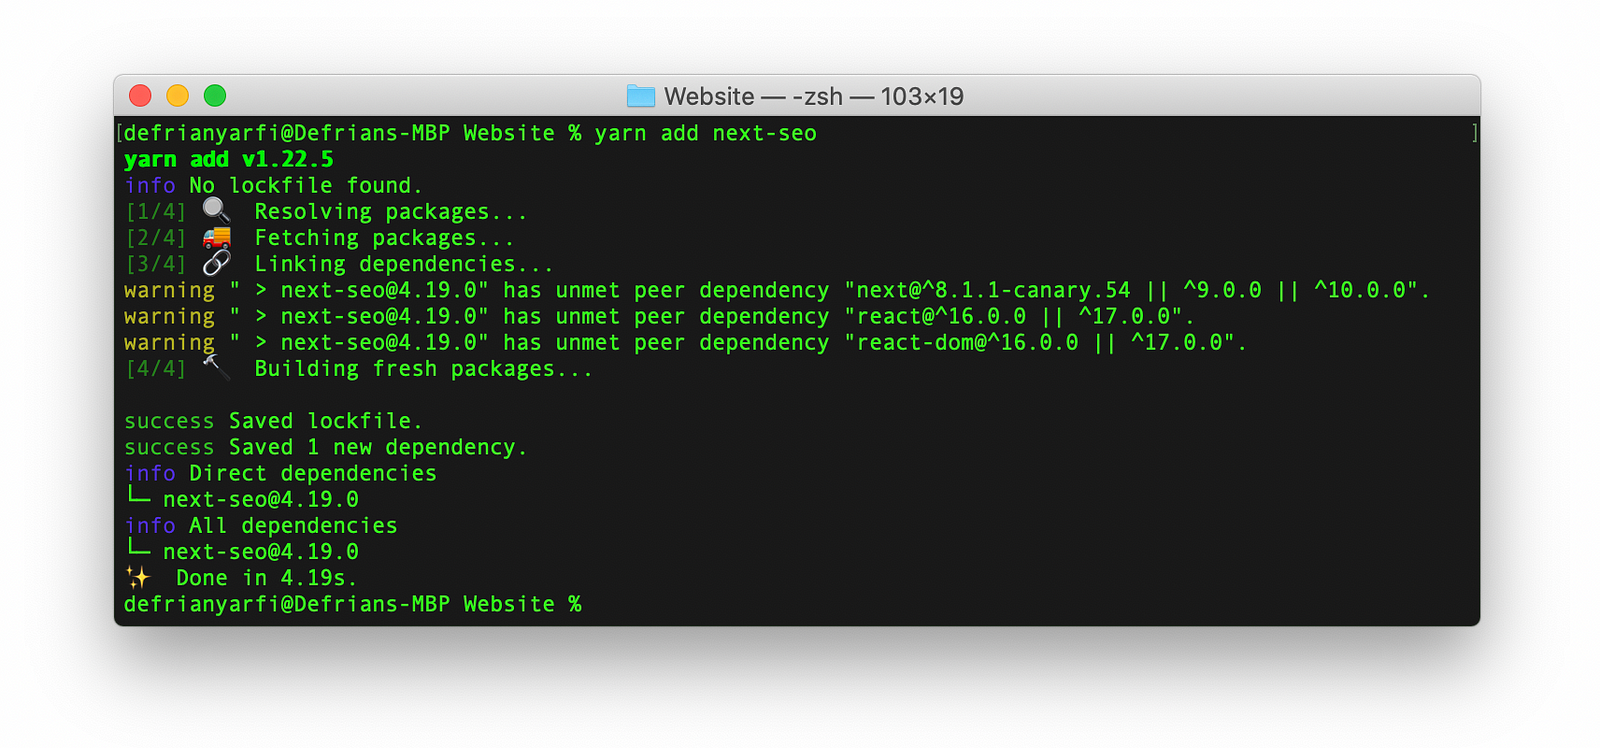
Next, from our project, we will add next-seo by typing yarn add next-seo -D or npm install --save next-seo to the project and wait until it finishes installing in the terminal.
Directory Structure
Next.js has a default starter directory structure that we will be using on this project. This structure will be expanded into much more for this writings and of course, you could be structured differently.
├── README.md
├── package.json
├── pages
│   ├── _app.js
│   ├── api
│   │   └── hello.js
│   └── index.js
├── public
│   ├── favicon.ico
│   └── vercel.svg
├── styles
│   ├── Home.module.css
│   └── globals.css
└── yarn.lock
4 directories, 10 files
Create a _app.js file in pages directory to import DefaultSeo from next-seo default SEO setup for our project in _app.js.
// import your default seo configuration
import { DefaultSeo } from 'next-seo'
import SEO from '../next-seo.config'

// global styles
import '../styles/globals.css'

function MyApp({ Component, pageProps }) {
  return (
    <>
      <DefaultSeo {...SEO} />
      <Component {...pageProps} />
    </>
  )
}

export default MyApp
Config Setup
Environment setup with config can be done in Next.js using .env and next.config.js files. A note from Next.js documentation that you should not put sensitive data on .env files and, put them on next.config.js with the serverRuntimeConfig or publicRuntimeConfig defaults exports variables.
Create .env.local file, copy and paste the sample below or make a copy from .env.example.local, and this is the default setup for the SEO default variables that are going to use in the entire page system. Next.js recommend that do not put sensitive data if we are using .env files. As for this purpose the data only for the SEO default variables.
For production testing in local use .env.production.local is very recommended, since it will be loaded in yarn start after executing yarn build on Next.js.
# env
BASE_URL=http://localhost:3000
API_URL=http://localhost:3000
STATIC_DIR=/
# seos
NAME=TheStartUp
TITLE=Title of the Website
DESCRIPTION=Descriptive of the website
SLOGAN=Cool Website Slogan
ADDRESS=Typograph Road, Lorem Ipsum Street No. 404
REGION=CA
PHONE=+199999999
IMAGE=xconnect.jpg
AUTHOR=@thestartup
# socmed
FACEBOOK_URL=https://bussiness.facebook.com/thestartup
TWITTER_URL=https://twitter.com/thestartup
INSTAGRAM_URL=https://instagram.com/thestartup
LINKEDIN_URL=https://linkedin.com/thestartup
# locale
COUNTRY=Indonesia
POSTAL_CODE=999999
LOCALE=en-US
The reason for using the .env file is because when we go to staging processes such as development, staging, and production, we need to test it in different environments, data, and different results.
Running Next.js will automatically load .env in the root directory. The .env files in the root will be a different name in a bigger scale project such as .env.local, .env.development, .env.staging, and .env for production.
Next, create a file in the root directory called nex-seo.config.js for our SEO default config. We are going to use the Next.js serverRuntimeConfig and publicRuntimeConfig. This is the sample of the default variables in next.config.js.
module.exports = {
  serverRuntimeConfig: {
    // Will only be available on the server side
    mySecret: 'secret',
    secretKey: 'secretKey',
    jwtToken: 'JwtToken'
  },
  publicRuntimeConfig: {
    // Will be available on both server and client
    // Pass through env variables
    baseUrl: process.env.BASE_URL,
    baseApiUrl: process.env.API_URL,
    staticFolder: process.env.STATIC_DIR,
    // Will be used for per SEO page default
    baseSeo: {
      robotsProps: {
        maxSnippet: -1,
        maxImagePreview: 'none',
        maxVideoPreview: -1
      }
    },
    name: process.env.NAME,
    title: process.env.TITLE,
    slogan: process.env.SLOGAN,
    description: process.env.DESCRIPTION,
    author: process.env.AUTHOR,
    image: process.env.IMAGE,
    facebookUrl: process.env.FACEBOOK_URL,
    twitterUrl: process.env.TWITTER_URL,
    instagramUrl: process.env.INSTAGRAM_URL,
    linkedInUrl: process.env.LINKEDIN_URL,
    phone: process.env.PHONE,
    address: process.env.ADDRESS,
    region: process.env.REGION,
    country: process.env.COUNTRY,
    postalCode: process.env.POSTAL_CODE,
    locale: process.env.LOCALE
  }
}
For using the variables, we just need to import them to the pages import getConfig from 'next/config', define them on const const { serverRuntimeConfig, publicRuntimeConfig } = getConfig(), and put them in components such as src={${publicRuntimeConfig.staticFolder}/logo.png}.
Default SEO Schemas
This is a sample of the config of our default website SEO Schemas. The config has a default title, title template, and default description along with Open Graph schemas. Write down these SEO configs in the next-seo.config.js:
export default {
  title: 'Your Default Headline Title',
  titleTemplate: ' %s | Your Website',
  defaultTitle: 'Your Default Title',
  description: 'Description of your website',
  openGraph: {
    type: 'website',
    locale: 'en_IE',
    url: 'https://www.url.ie/',
    site_name: 'SiteName'
  },
  twitter: {
    handle: '@handle',
    site: '@site',
    cardType: 'summary_large_image'
  }
}
Create _document.js in pages directory and write this default setup in _document.js to serve content from Next.js getInitalProps:
import Document, { Html, Main, NextScript } from 'next/document'

class MyDocument extends Document {
  static async getInitialProps(ctx) {
    const initialProps = await Document.getInitialProps(ctx)
    return { ...initialProps }
  }

  render() {
    return (
      <Html>
        <body>
          <Main />
          <NextScript />
        </body>
      </Html>
    )
  }
}

export default MyDocument
Sitemap Setup
From the terminal, stop all process control+x and type yarn add next-sitemap -D to add the next-sitemap plugin, and wait until finished.
Create next-sitemap.js in the root directory and add default config to the file.
module.exports = {
  siteUrl: 'https://nextjs-nextseo-web.vercel.app/', // Production
  generateRobotsTxt: true // (optional)
  // ...other options
}
Add another line of the script "postbuild" :"next-sitemap" in package.json below the "start": "next start" to generate an XML sitemap in /public/sitemap.xml directory.
This is the final result from the npm installation from next-nextseo and next-sitemap modules:
{
  "name": "nextjs-nextseo-app",
  "version": "0.1.0",
  "private": true,
  "scripts": {
    "dev": "next dev",
    "build": "next build",
    "start": "next start",
    "postbuild": "next-sitemap"
  },
  "dependencies": {
    "next": "10.0.6",
    "react": "17.0.1",
    "react-dom": "17.0.1"
  },
  "devDependencies": {
    "next-seo": "^4.24.0",
    "next-sitemap": "^1.5.16"
  }
}
Here is the Demo and this is the source code.
If you already implement the SEO on-page lists and AMP in your website. You will have the lists of JSON Schemas and other SEO enhancements that you already implement and consider valid by the Google search engine console.
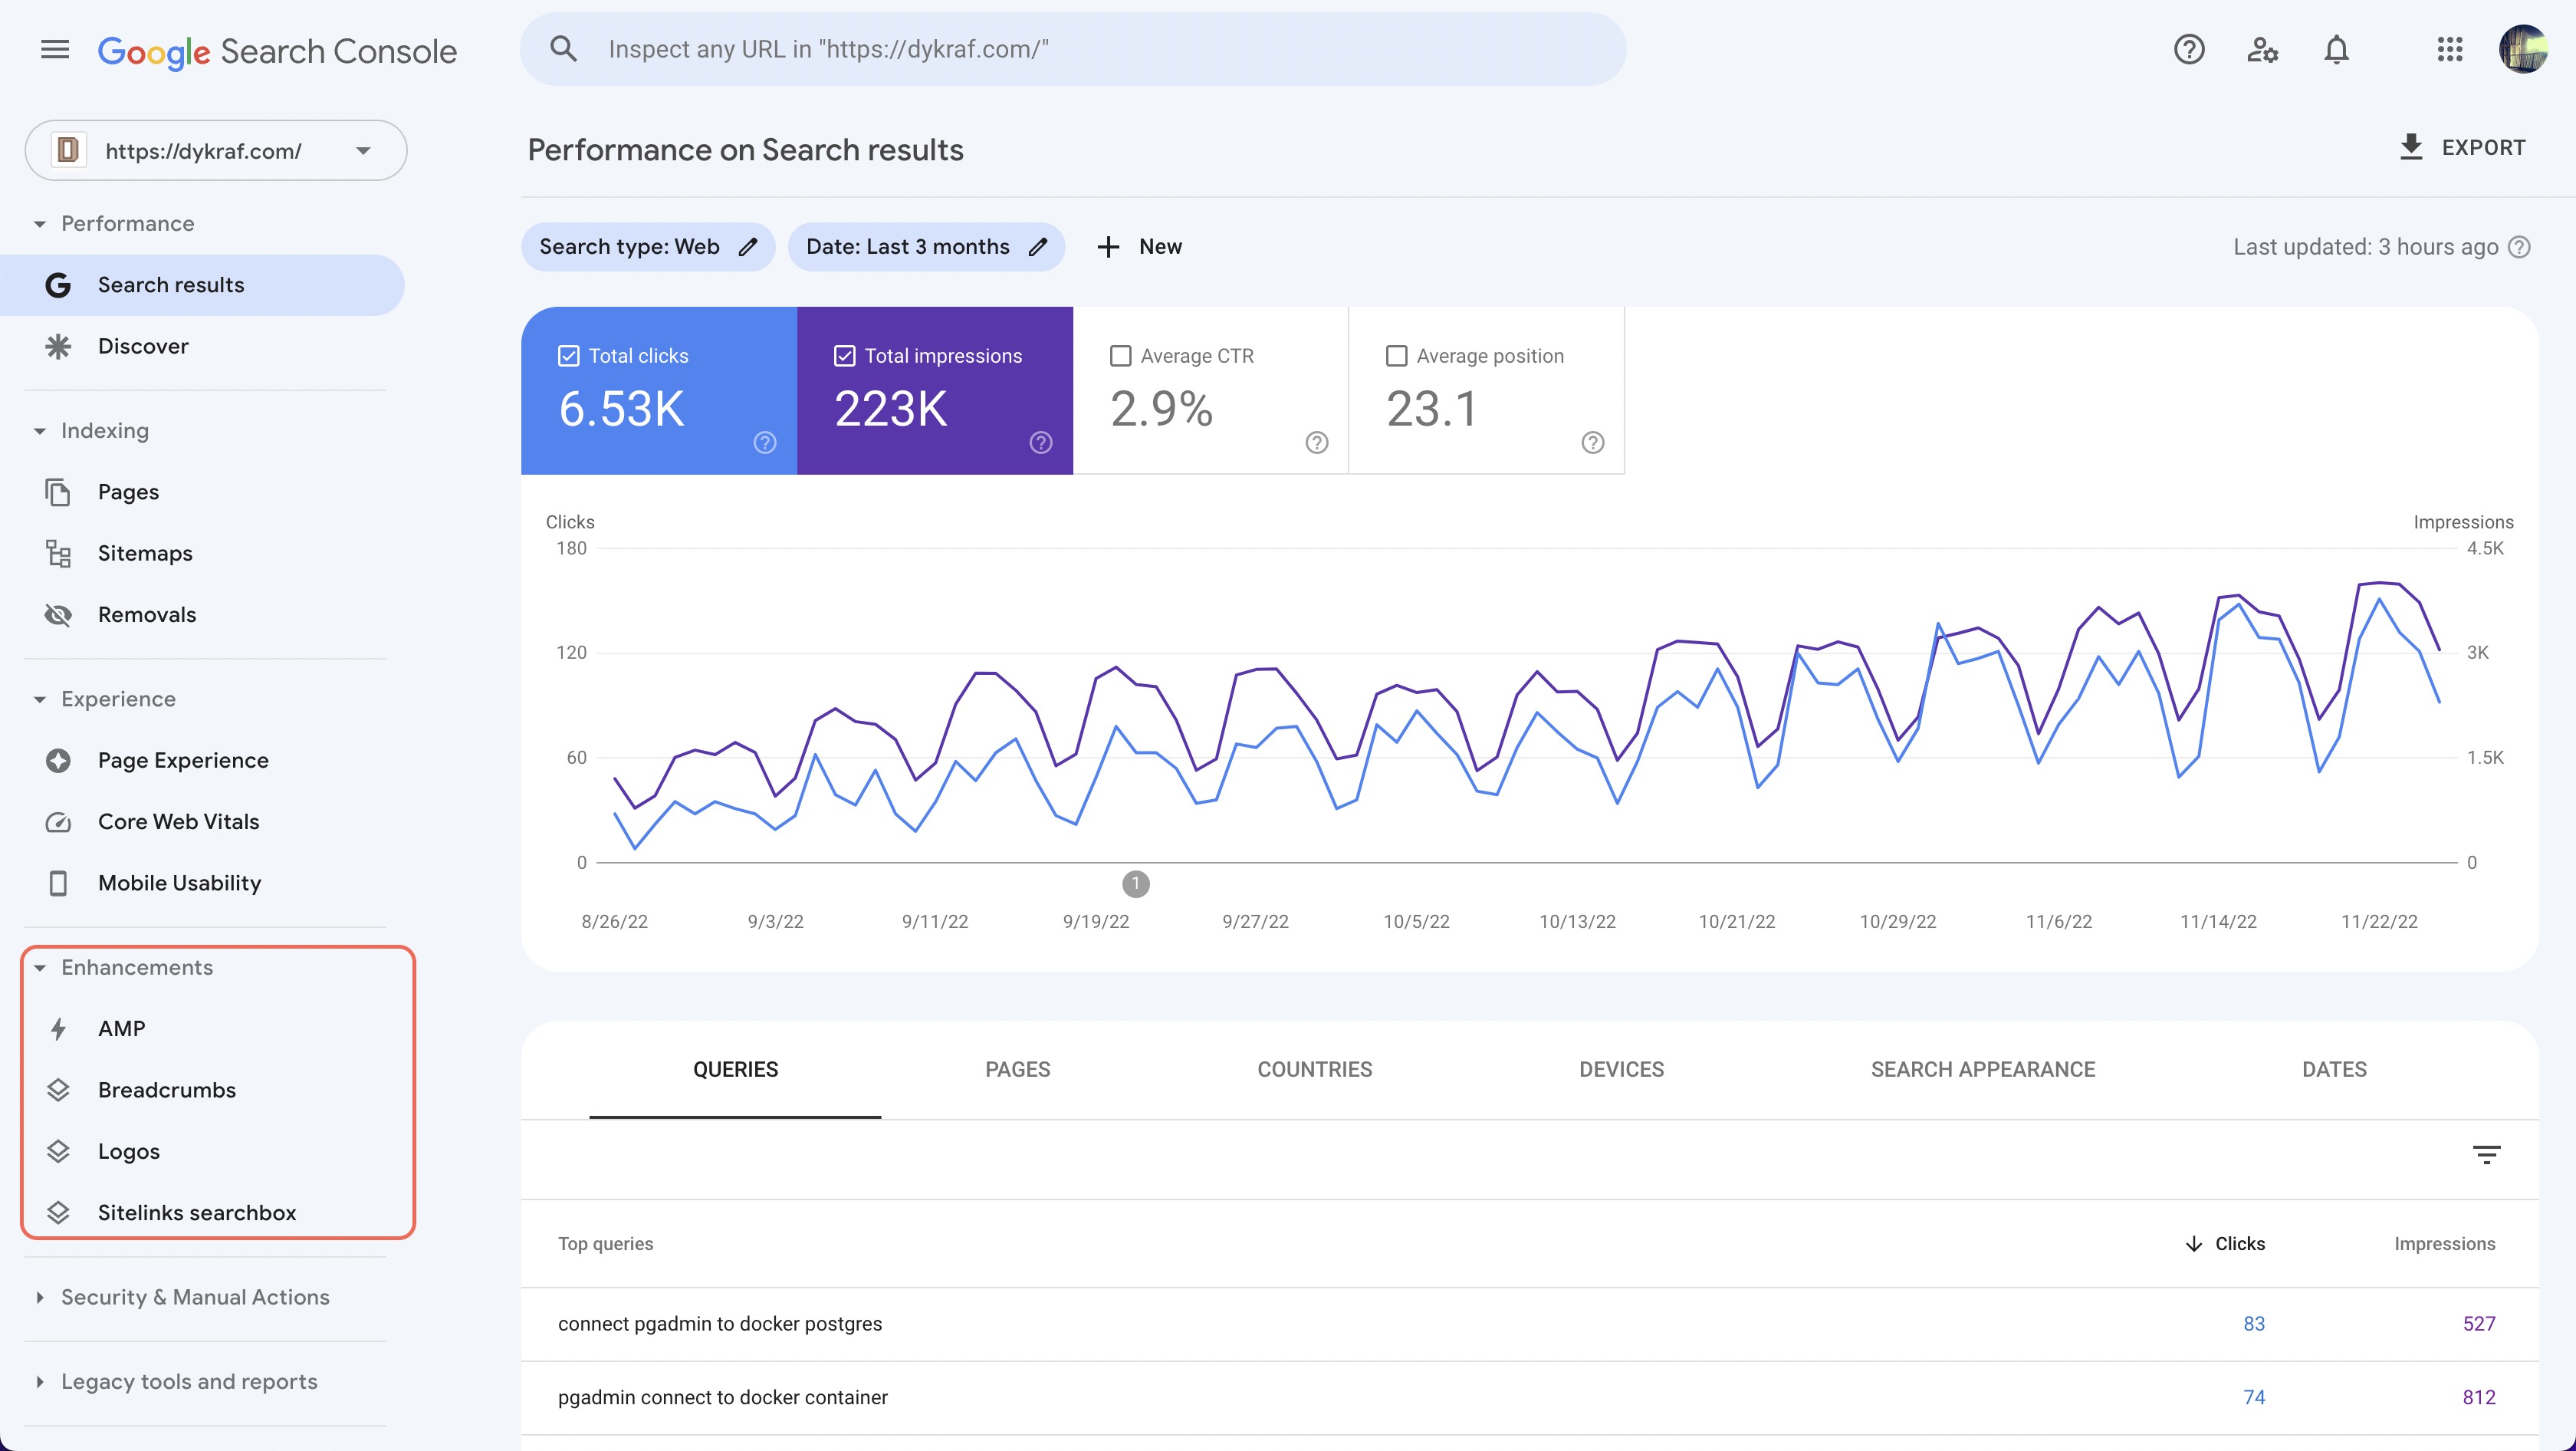 Enhancement Analytic in Google Search Console
Deploy Website
There are several ways to deploy your website, you could use any hosting service provider or use free static website hosting like Vercel and Netlify.
I have been using these hosting service provider for quite some time for publish several of my web projects. As a web developer, these hosting providers have been extremely helpful in terms of hosting my static websites.
Free was not always free, there is some limitation that you could have in your hosting. Some host providers such as Netlify and Vercel have a great limited free hosting to getting started your website online with great CLI commands. Install the CLI node package and ready to upload your website online and follow the instruction for login to your hosting account. If using Vercel npm i -g vercel or npm install netlify-cli -g for Netlify and set up your login account session.
If all went well all you have to do is just type vercel --prod or netlify deploy --dir=dist --prod in your project root directory for uploading your website into production.
Closing
When bringing a website to a broader audience, web page SEOs and search engine indexing have the advantages for this purpose. A search engine such as Google brings more traffic to our website if some of the guidelines and rules were matched on the SEO-based level on our website structure.
Topics
Recent Blog List Content:
Most popular React.js UI Libraries - Exploring Mantine and Material-UI

How To Work With Relationship RESTful API Endpoints In React.js
Archive
Stories
Code Road’s Web Development Story List
Code Road
Material UI Administrator Dashboard with Next.js
Code Road
Nuxt.js and Chakra UI Website Template
Code Road
How To Use Apex Charts in Nuxt.js Web Application Dashboard
Code Road
Nuxt.js Dynamic Sitemap and Feed for Static Websites
Code Road
Nuxt.js SEO Head Component
Code Road
Chart.js in Nuxt.js: How To Implement
Code Road
On-page SEO List to Have in your Nuxt.js Static Website
Code Road
How To Build VueJS Geo Location Weather Application
Code Road
MySQL Docker Container with MySQL Workbench and PhpMyAdmin
Code Road